Good evening all! Hope the week is going well for all, so far...it is only Tuesday I suppose. ;)
The project I am going to go through today is a slight spin-off from a piece I saw on...wait for it...Pinterest. Never would have guessed that would you?
The original piece I saw was made from paint chips from a home improvement store, mine is made from playing cards. Have a gander...

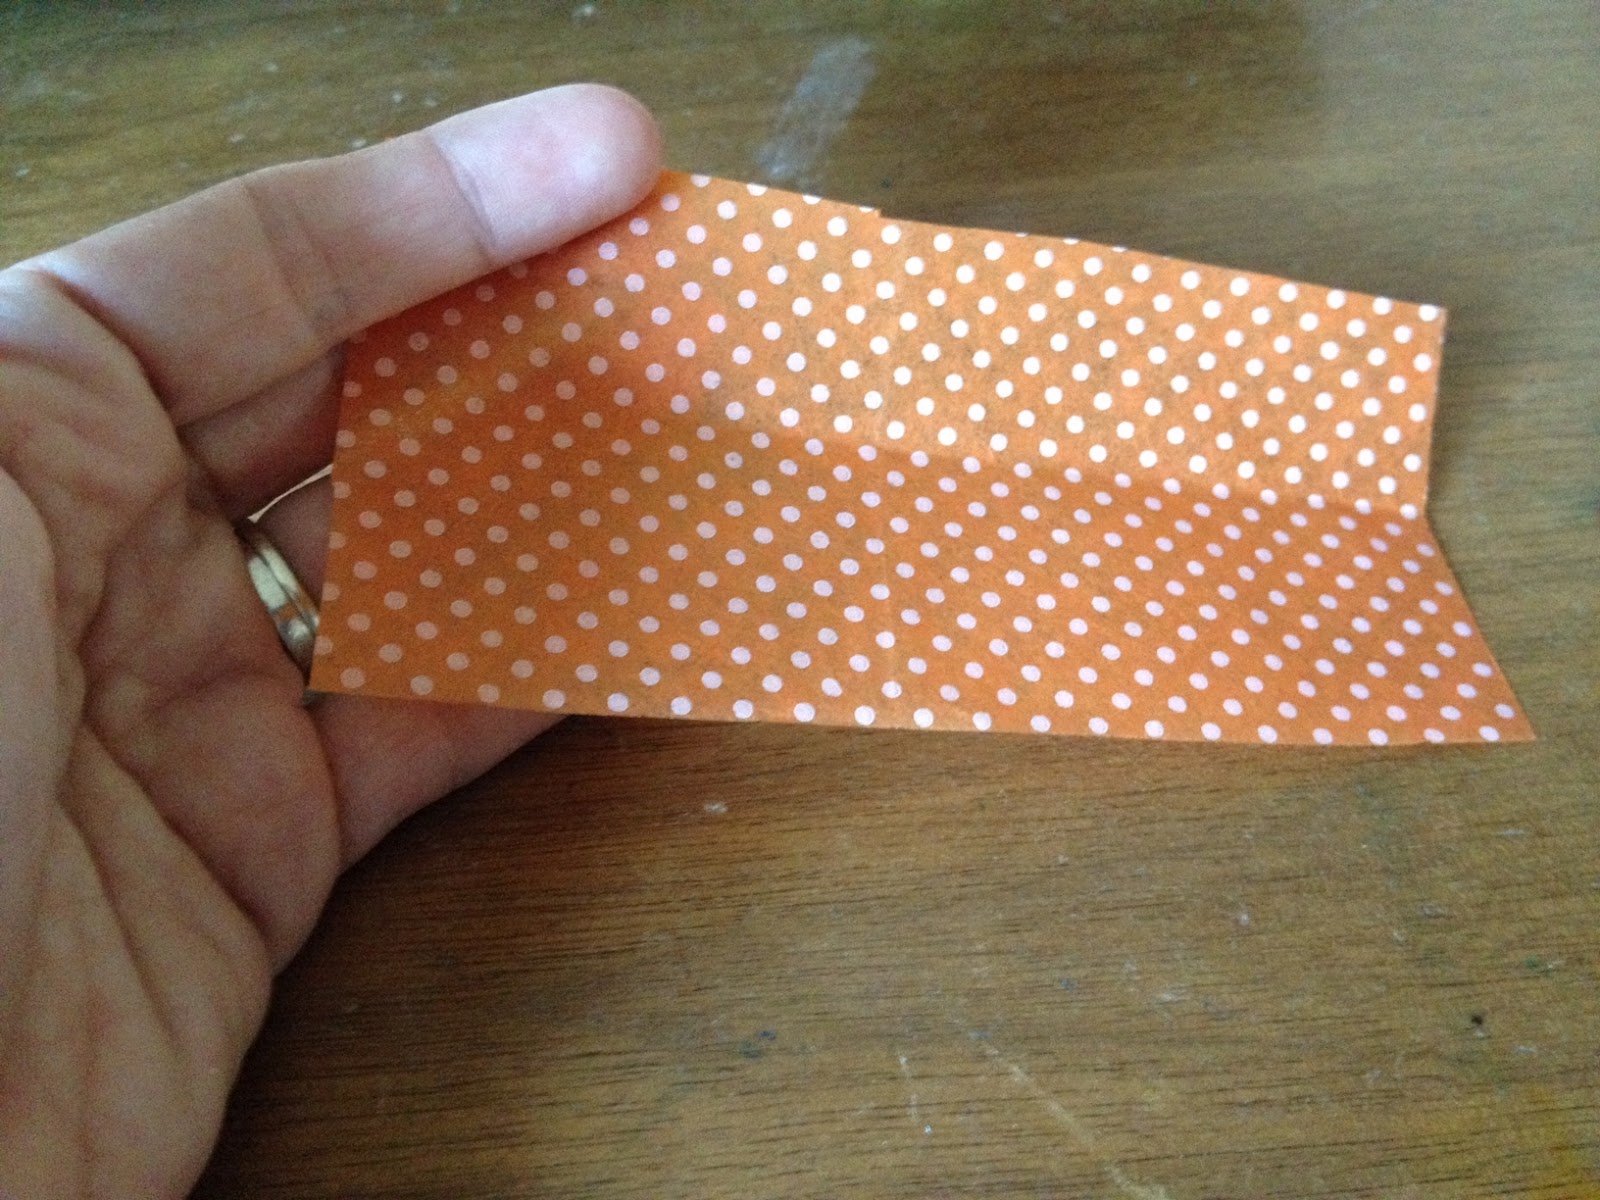
This was a pretty easy project from start to finish. The only issue I ran into was finding paper that was thick enough for the hearts. I started out using vintage sheet music but it was so thin and flimsy that it sort of warped when I stuck it to the adhesive dots (I will get to that in a minute). For now, let us please have a moment of silence for the vintage, an totally un-reusable sheet music.............I hate to waste good vintage paper.
So, to start out, I gathered my supplies which consisted of: A heart shaped paper punch ( you could use any shape to your liking though), playing cards, scissors, "ZOTS 3-D adhesive dots", A thick piece of watercolor paper, a ruler and finally a shadow box frame.

The first thing I did was punch out all of my hearts. I wasn't sure how many I would actually use, so I just kept punching away! It actually becomes kind of addictive to punch all of these shapes, I almost couldn't stop!


Next thing I did was decide how big of an area I wanted to fill. Since my frame was a square 12 x 12, I knew I needed to keep it a square shape. I decided on 9x9, to leave a bit of the background visible to give it more depth. After that was done, I lightly drew some lines to give myself an idea of where I wanted to place the hearts.

As you can see above, when I said lightly, I meant it. I didn't want any pencil markings left behind.
Once I had everything lined up, I started applying the adhesive dots. These things are an absolute godsend. They were easy to work with and they have some serious sticking power. If you want to pick some up, I found mine at Hobby Lobby and they are called "ZOTS Singles 3-D Adhesive Dots". For this project I used 1/2", but they had additional sizes as well.

You may be able to tell from the above picture that there are clear squares around the circle shapes. Those are just the backing. I left them on there until I was ready to place the hearts because, like I said above, they have serious sticking power. You will need to remove these, obviously, prior to sticking anything on them.
Once I got the dots where I wanted them, I erased the remaining pencil lines.
***NOTE: I have recently fallen in love with my Sharpie Liquid Pencil. This pencil is great. It's erasable like a pencil (even better than a regular pencil, in my opinion), but you don't have to worry about broken lead, or sharpening because it literally works like a click pen. ***
Anywhoo...Just about finished now! Once I had all of my hearts stuck in place, I attached the finished piece to the velvet background of the shadow box frame with more ZOTS. (So far so good, as far as it staying in place.) I wanted to give a 3-D effect to the whole piece, I didn't want to secure it flat to the background. I felt like it would take away from the whole 3-D thing I was going for. So that is why I chose to use the ZOTS dots (that rhymes!), but you could choose to do it differently. It all about you!

And there you have it! I actually love this piece. I can't wait to find a special place for it to hang. But, for now, it sits on my desk as a reminder of what I am capable of and why I love being creative. :)
Let me know what you think! Shoot me an email, or comment here...feedback is always appreciated!
Don't forget, you can now subscribe to my blog via email to get my post automatically sent to you!
Check back often, I have some ideas in the works that may involve a giveaway or two!! (Who doesn't love fee stuff?!?)