
Today I decided to try out my tutorial skills. Bear with me here while I get my feet wet. I've visited a lot of blogs that have tutorials on them and they can vary from completely vague to overly detailed...I would like to be somewhere in between. I mean, I don't want to make you think I think you are an idiot now do I? NO! But, at the same time, I also don't want to leave you in the dark and wonder "How did she get to that point?". I also didn't want to start off with some crazy hard project. Mainly because my kids are insane and I don't have the time! :) So, I figure Washi Tape is a good starting point. It's so easy to make and so versatile, I just wish I would have found out earlier!!
So....here we go! I'm going to show you how I am using my homemade Washi Tape to embellish my blog's "calling card".
Step one is to find a good double sided tape. I found that Scotch 3m Scrapbooking Tape is a really good one.

After you have found a good, strong tape, the next step is the best step! Finding the paper or fabric you want to apply.
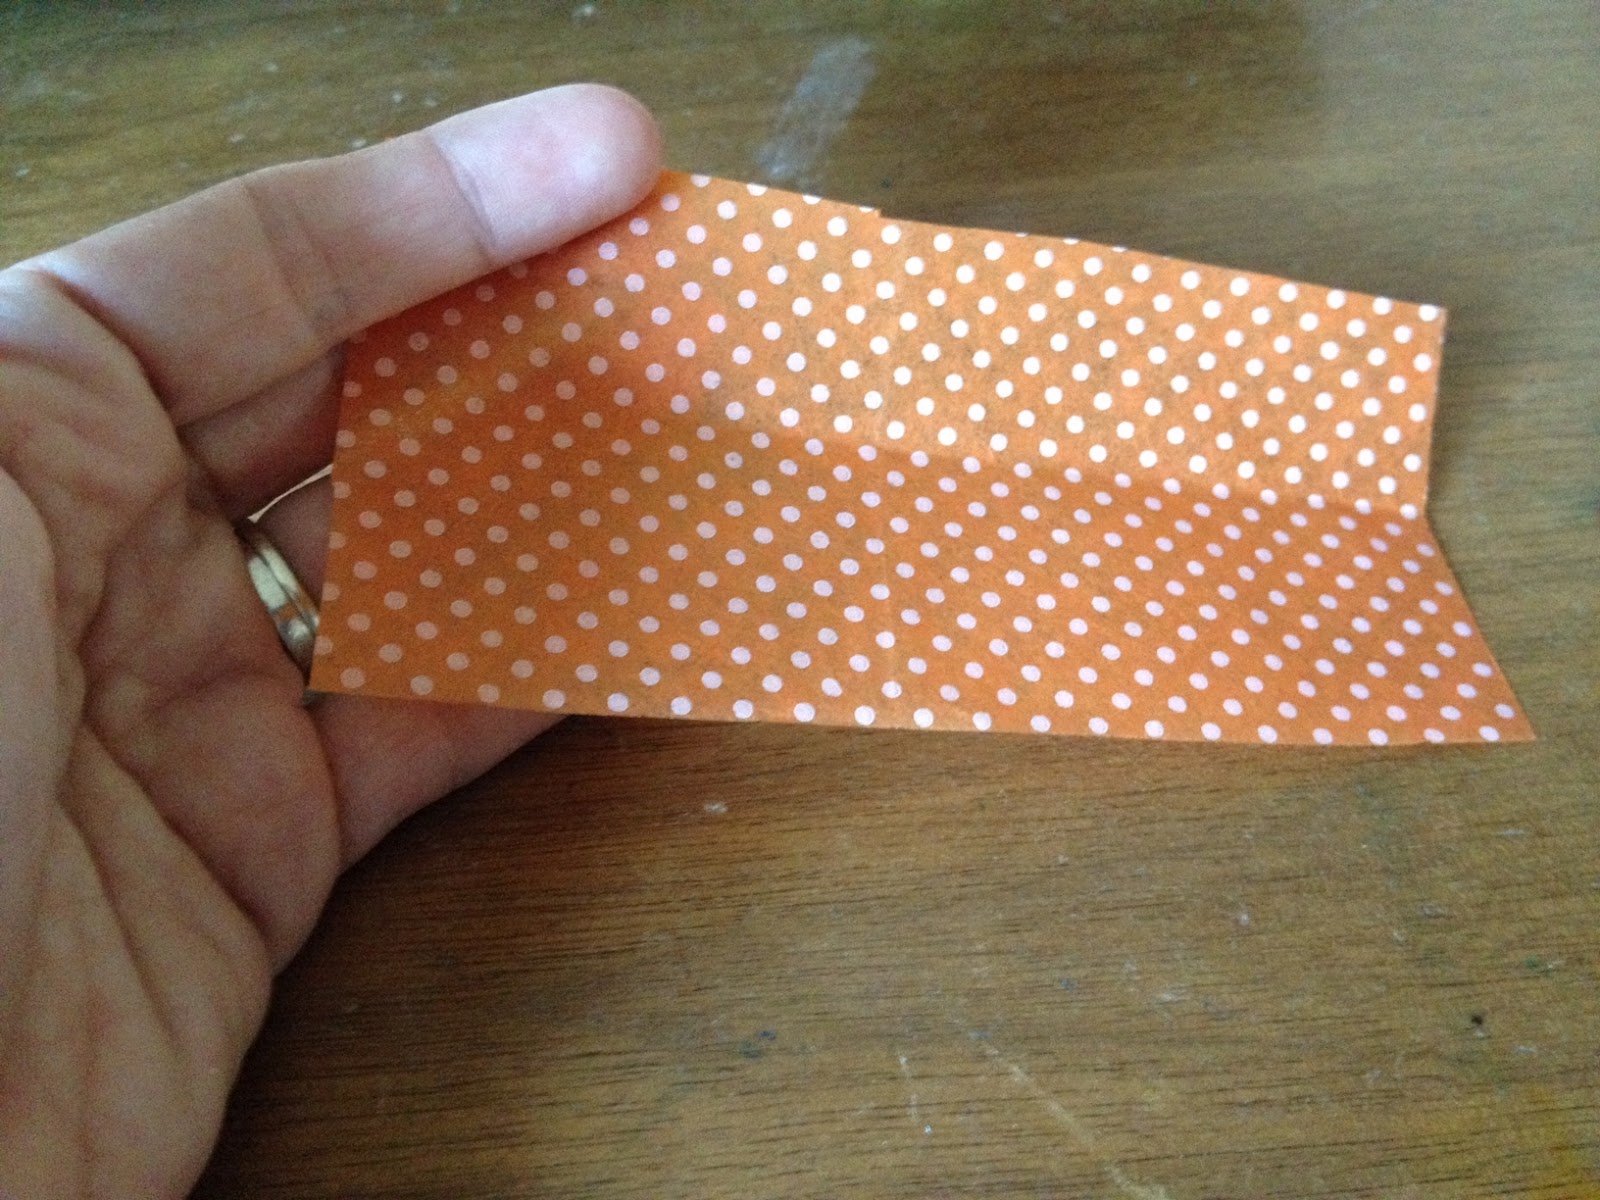
With so many patterns out there, the possibilities are endless. I chose a piece of polka dotted tissue paper. I really like the tissue because it is lightweight, and still appears somewhat transparent once applied to the tape. But, for added texture, fabric or even scrapbooking paper would work well too.
Once you have completed the daunting task of choosing the pattern you want, (Oh the injustice of so many pretty choices, right?) and cutting it to size, you carefully apply the tape sticky side down (duh!). Make sure you get a good hold on the paper, and that there are no air bubbles or buckling. You can either do this with your fingertip, or use a brayer if you have one.


Once you have the tape secured to the paper, simply trim around it with scissors. Depending on the width of the tape you use, you could even use specialty scissors to create a patterned edge for an extra flair! (I love it when a good idea comes to me spontaneously. Note to self: Invest in pretty scissors!!)

Now, you have your very own, homemade Washi Tape! Like I said earlier I am using mine to embellish my cards. Since I already had them printed, I just needed to peel and stick and voila!


A much prettier and much more unique calling card! Just make sure when peeling the paper off of the other side of the tape, you don't accidentally "kink" it. I did this and although I was able to "un-kink" it, I found it left a little crease. This was probably because I used a thin tissue.
The possibilities are, literally, endless. Embellish a candle holder, envelopes, stationary, picture frames...I could go on and on and on and....well, you get the idea. Endless. Possibilities. Period.
I would love to see what you have come up with, or other ways of making Washi Tape. Post a comment, or shoot me an email with your own ideas! Let's get creative!

No comments:
Post a Comment